
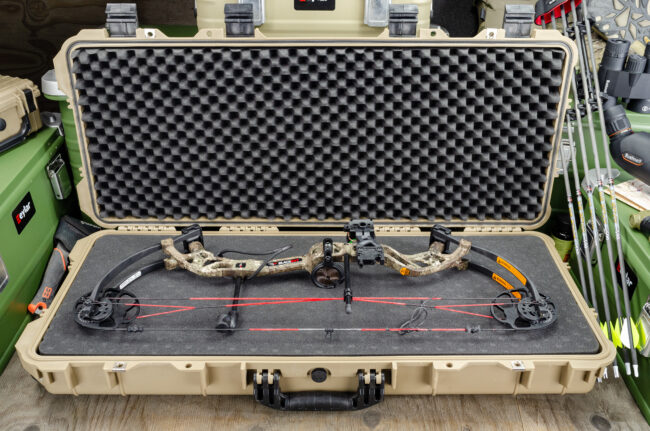
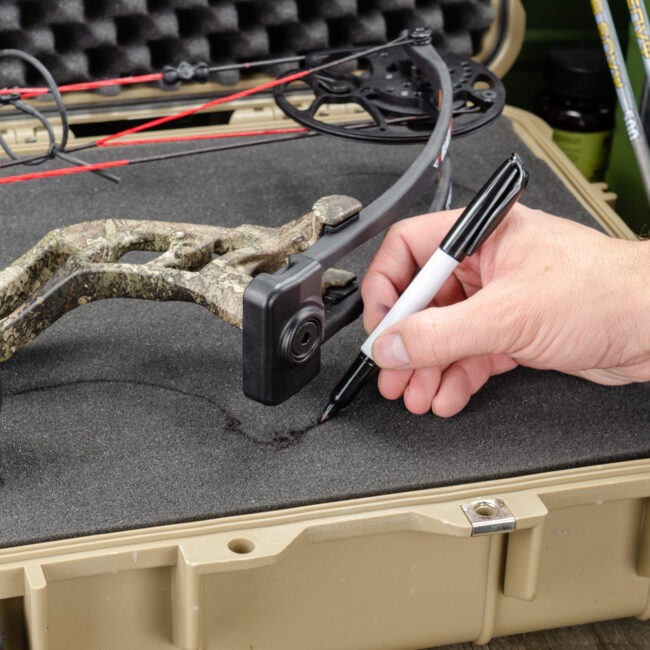
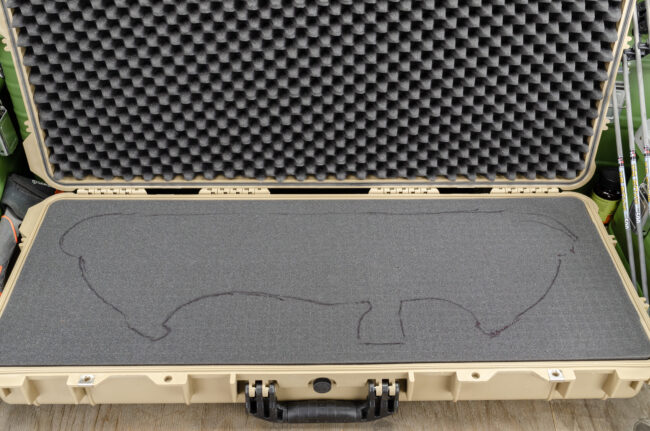
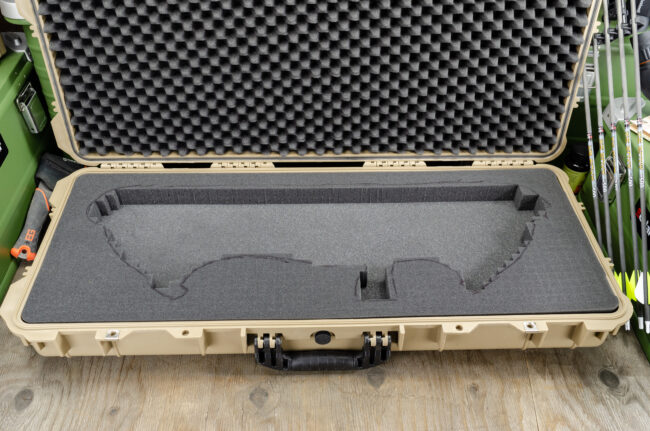
Customizing a hunting bow case with Eylar pull and pluck foam is a simple and straightforward process that allows you to achieve the perfect fit for your bow.
Customizing a hunting bow case with Eylar pull and pluck foam is a simple and straightforward process that allows you to achieve the perfect fit for your bow. Follow these step-by-step instructions to ensure that your bow is properly protected and secured in the case.
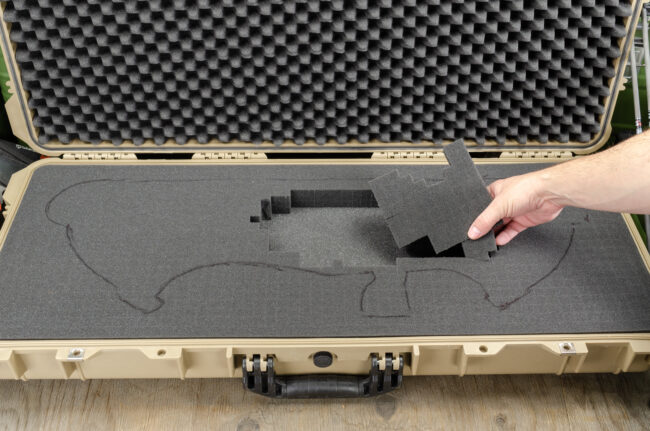
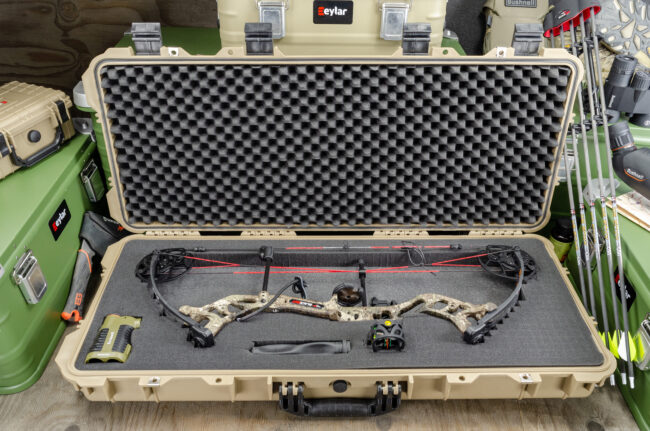
By following these steps, you will be able to customize your hunting bow case with Eylar pull and pluck foam in no time. The foam will fit snugly and securely, ensuring that your bow is protected and secure when you are out in the field. With these instructions, you can easily customize your bow case and get ready for your next hunting trip!